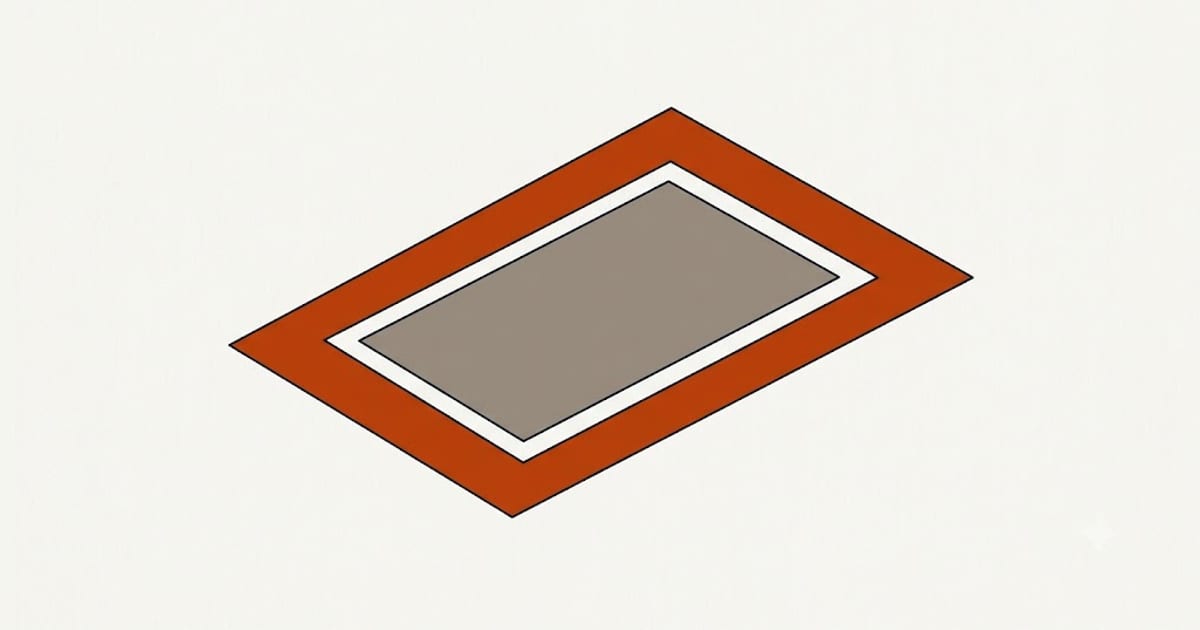
A window is a manufactured product with a test label. The installation is site work, and it is where the failures come from.
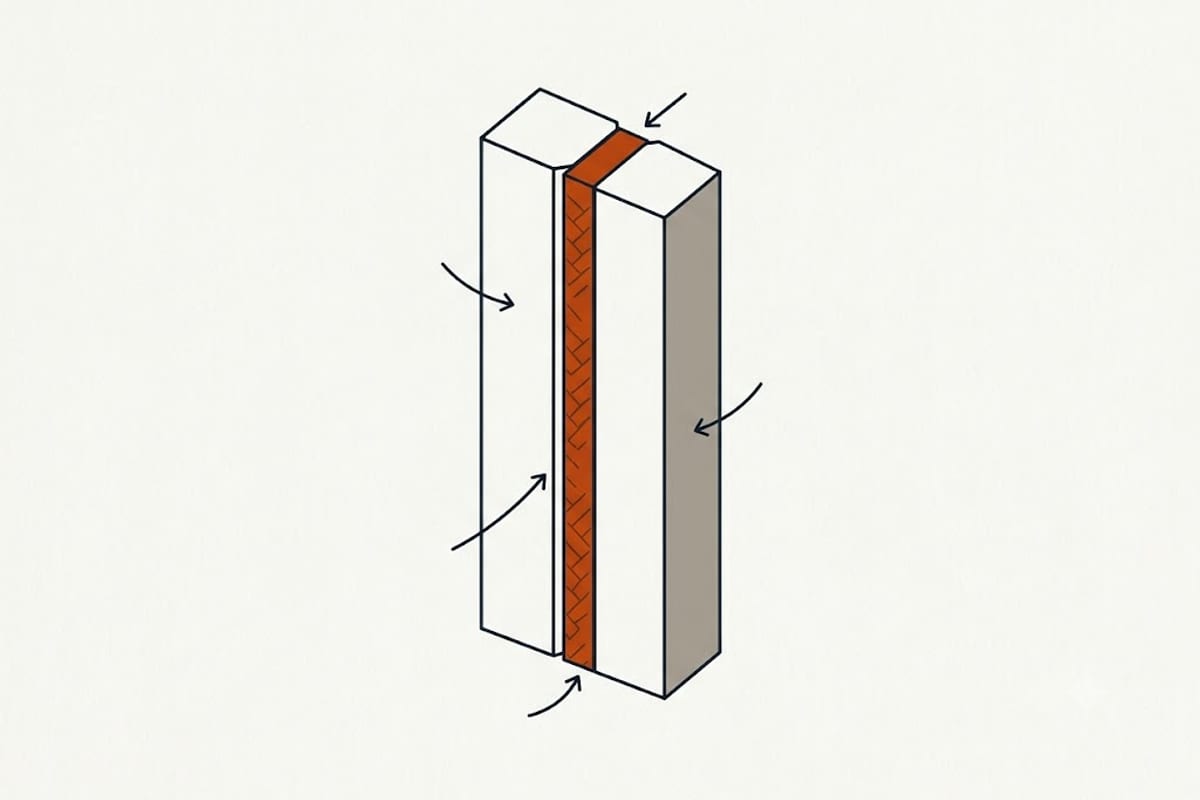
The problem is timing: five of these six checks are only possible in the few hours between the window going in and the trim going on.
1. Sill pan first — check before the window sits down
Water that gets past the exterior finish has to land somewhere and drain out. A sill pan — formed flashing or a preformed tray with a back dam and end dams — is what catches it.
If the installer sets the window into a bare wooden sill with a bead of caulk, there is no drainage path. Every drop that gets in stays in.
This one is only visible for a few minutes. Ask before the day starts, not during.
2. Flashing lapped downward
Sill pan, then the window, then jamb flashing over the sill pan, then head flashing over the jambs. Each layer overlaps the one below so water runs down and out.
Reverse-lapped flashing — head tape tucked under the jamb tape — funnels water into the wall instead of out of it, and it is one of the most common defects. It looks perfectly neat.
3. The gap is even, and it is not empty
There should be a gap of roughly 1/4 to 1/2 inch around the window, filled with low-expansion foam or with backer rod and sealant.
Two failure modes. Empty means an uninsulated, air-permeable channel around every window. Ordinary expanding foam exerts enough pressure to bow the jambs, and the symptom is a sash that binds or a lock that will not engage — which appears weeks later and is very expensive to fix once the trim is on.
Look for even, controlled foam that has been trimmed flush, not a swollen ridge.
4. Shims at the right places
Shims belong under the sill at the ends and at any mullion, and behind the jambs at the hinge or balance points. They should be snug and trimmed flush.
Too few and the frame flexes. Too many, or driven too hard, and the frame is racked — which shows up as a sash that touches on one side and gaps on the other.
5. It opens, closes and locks — on every unit
Operate every window before the crew leaves. A sash should move with even effort through its whole travel and lock without being pushed or lifted.
Binding or a lock that needs persuasion means the frame is out of square. That is a ten-minute fix on the day and a trim-removal job afterwards.
6. The reveal is even
Stand back and look at the gap between sash and frame all the way round. It should be parallel. A wedge-shaped reveal means the unit was set out of square, and it will get worse as the shims settle.
Do the same from outside for the gap between the frame and the siding or brick.
After the trim, only three things are still checkable
Air. On a windy day, run the back of a hand around the perimeter of the casing. Anything you can feel is air moving through the gap you can no longer see.
Water. After heavy rain, check the interior sill and the wall directly below it for damp, and look for staining at the bottom corners.
Exterior sealant. It should be continuous along the head and jambs and deliberately absent along the bottom — sealing the bottom edge traps water that the drainage path is supposed to release.
What to do about it
Raise anything you find while the crew is still on site and before final payment. Installation defects are covered by the labour warranty, not the manufacturer warranty, and the manufacturer will decline a claim caused by installation.
That distinction is why the length of the labour warranty is worth more attention than the length of the glass warranty.